To see all of our posts on tips for the Camino de Santiago, click here: Camino de Santiago.
Walking sticks
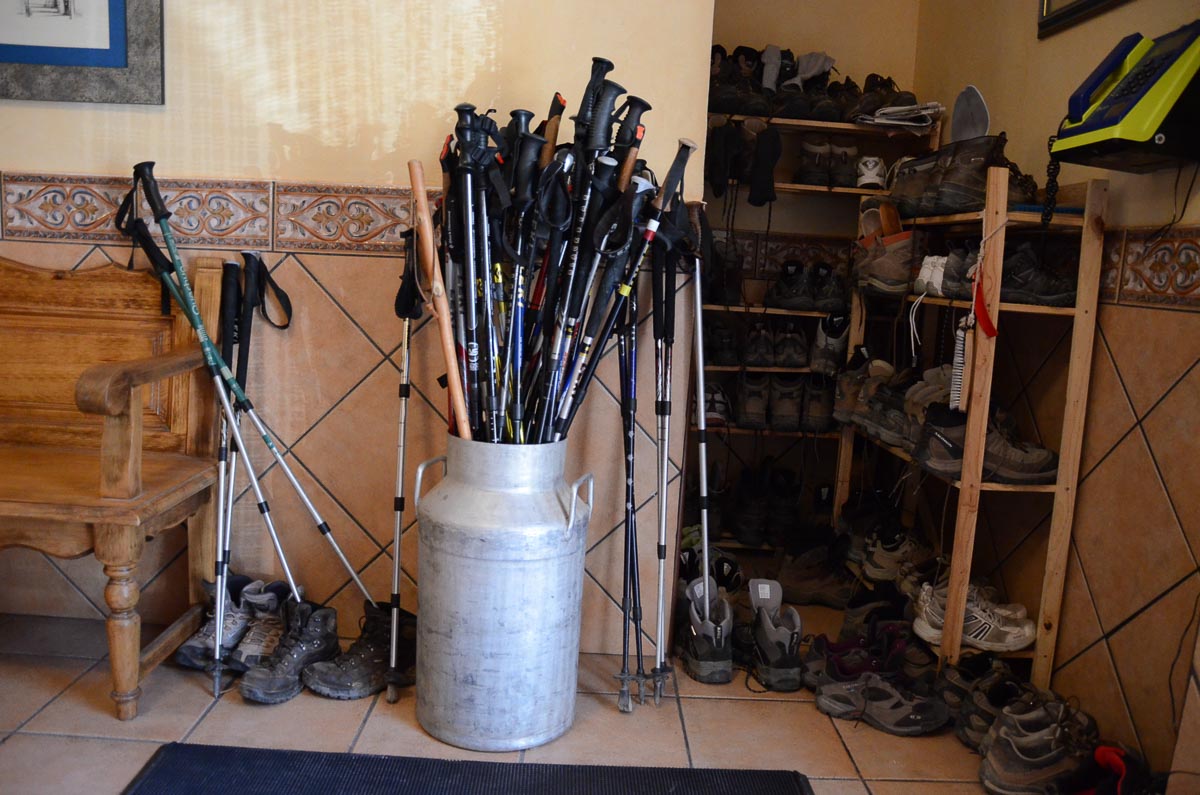
There’s a debate about using walking sticks on the Camino that I’ll readily acknowledge. Do you absolutely need them? Probably not. Will they make some of the Camino de Santiago easier if you have them? Definitely yes.
Some, mostly younger, peregrinos did not use them. One young man told me he had two reasons for that: he felt his balance was better if his hands were free, and, he didn’t want any extra weight. I watched him bounce from rock to rock going down a steep path once, and I have to admit he was right. For him, they would have been excess baggage.
Of course, not all of us are half mountain goat (or a super fit 24-year-old.) Sticks provide a third (or fourth) leg for stability and also help with pushing uphill or and controlling your speed and balance when edging your way down a steep descent over broken rock.
There are several variables if you are going to consider sticks. The first option is to use the “pilgrim’s staff,” a piece of wood, with or without a metal end on it and a leather thong for your wrist. They’re available everywhere along the Camino from various souvenir shops and the cost varies from 5 to 12 euros or so. Lots of people carry them. They’re much heavier than a modern aluminum or composite stick, but, for many, they do have a symbolic purpose. They’re certainly much closer to what the old pilgrims carried. But I don’t really buy that theory. If you’re into symbolism, why not go all the way and carry a leather shoulder bag and a water gourd instead of a nylon pack and a plastic water bladder?
Since I’ll take comfort over symbolism any day, I used top of the line Leki Walking Poles. They don't make the model I used any more, but Leki Antishock Trekking Poles are probably the replacements. (See www.leki.com for various models and where to find them near you.) I have to admit, I spent the extra money to get the lightest poles available, and also ones that included shock absorption. The end of the pole telescopes in a centimeter or so as you plant it each time. I figure that, if I’m going to be lifting and planting those poles about 1000 times per kilometer, which works out to 800,000 times during the Camino, I want them to be as comfortable as possible.
The Leki poles have a great molded grip and comfortable wrist straps that keep your hand attached to the pole.
But, the Lekis can be expensive. The model I have cost about $180. (I bought them several years ago when starting a hike in the Rockies.) You can get much less expensive poles from Leki and other manufacturers. What you save in price, you’re going to give back in weight and shock absorption. If you’re a woman, be sure to check out the women’s poles, which are the same pole, but with a smaller grip.
Another thing to consider: poles come with hard carbide steel tips, or hard rubber blunt tips. Get the carbide steel. The larger blunt tips are useless on tougher terrain where you really want to plant and push. They will also slip around more than the hard points, and that can actually be counter productive, or even dangerous. Save those types of tips for walking around your neighborhood for exercise. They’re not really made for serious trekking.
One final observation about poles: on flat ground, I found myself using the poles to pace myself. I would “throw” the pole out ahead of my step and stride out to meet it. It forced me to lengthen my stride a bit and go a bit faster. That was particularly nice at the end of the day when I was fatigued, or if I wanted to put a little distance between me and another peregrino who was nipping at my heels a bit too close.
Update I bought some updated trekking poles from Black Diamond that I really like. They collapse and go together with a different system than the Lekis, which telescope. I find that I like the Black Diamond system better.
Read Kris's post on what it's actually like to walk the Camino de Santiago.
To see all of our posts on tips for the Camino de Santiago, look here:
The essential Camino packing list
The low down on socks, socks, and blisters
The backpack
This is an update of a post originally published in 2013.
Up Your Travel Skills
Looking to book your next trip? Use these resources that are tried and tested by us. First, to get our best travel tips, sign up for our email newsletter. Then, be sure to start your reading with our Resources Page where we highlight all the great travel companies and products that we trust. Travel Accessories: Check out our list of all the accessories we carry to make getting there and being there a lot easier. Credit Cards: See our detailed post on how to choose the right travel rewards credit card for you. Flights: Start finding the very best flight deals by subscribing to Thrifty Traveler. Book your Hotel: Find the best prices on hotels with Booking.com. See all of the gear and books we like in one place on our Amazon shop.Got a comment on this post? Join the conversation on Facebook, Instagram, or Threads and share your thoughts!


Comments are closed.