
This post is part of our Travel Skills for Travelers Over 50 guide, which includes our best photography tips alongside packing, gear, and practical travel advice.
I’ve been consciously trying to improve my photography the last few years, and by that, I mean paying a lot more attention to how I’ve been doing things. The nature of the traveling we’re doing means that, by default, I’ve been shooting a lot more landscapes and other static scenes. Here are some tips I’ve gleaned from looking at the work of other photographers, taking a couple of seminars, and my own 50,000 or so exposures I’ve made over the past three years.
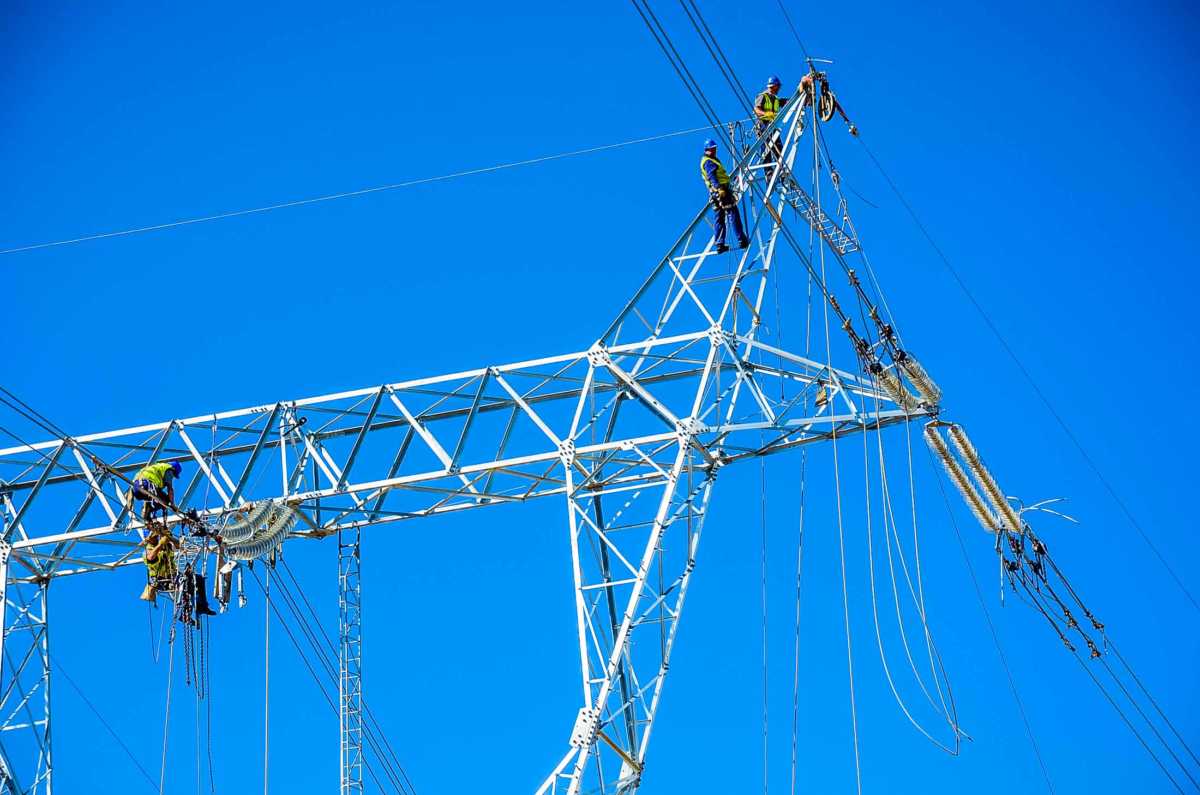
1. Use a tripod (or at least a monopod.)
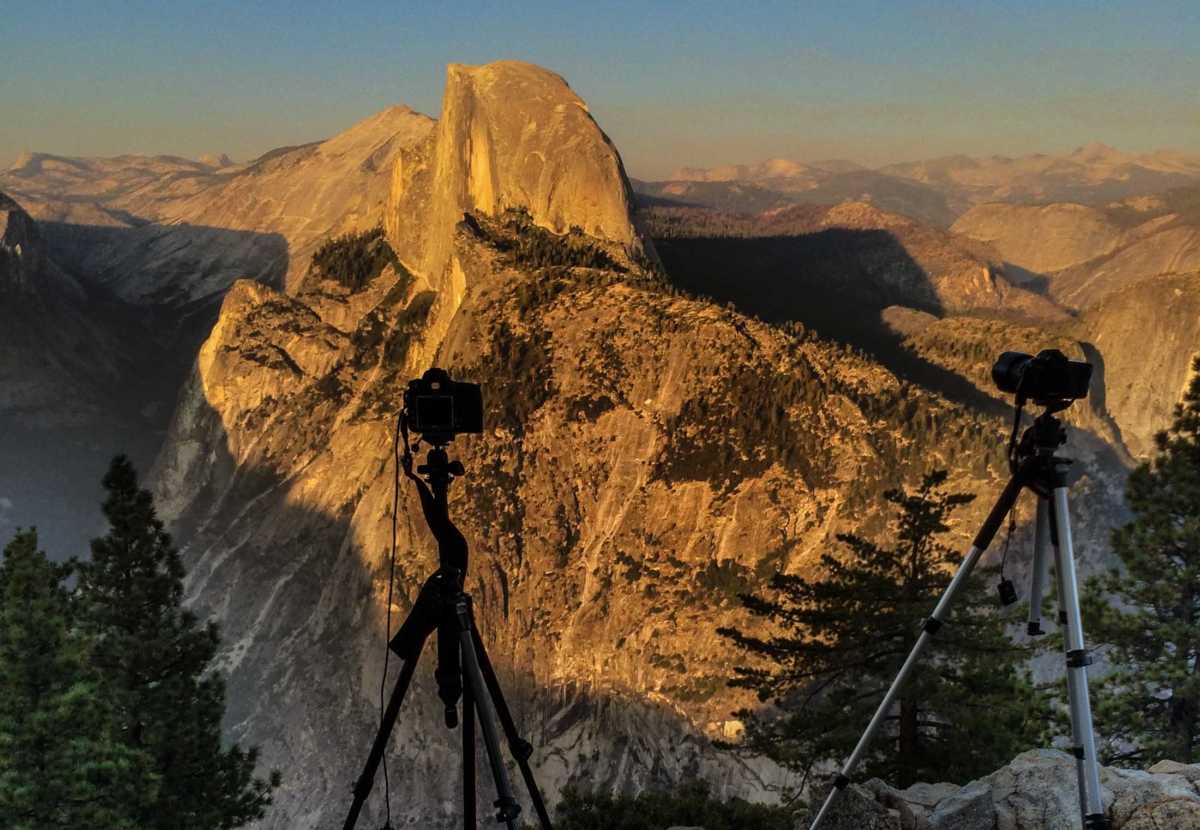
The main thing using a tripod does is make you slow down and think more about what you are looking at. Mostly, it’s a composition thing. But, there are plenty of other implications for the ISO, aperture, and shutter speed you’ll be using, and those are important as well.
2. For some shots, you need as much depth of field as you can get.
Photography 101 tells you that to get your foreground and background in sharp focus, you are going to need to stop down your lens. Perhaps all the way to f/22 or however far it goes. If you do that, and focus properly, everything from the foreground out to infinity will be sharp. Of course, if you are stopped all the way down, and are also using a slow ISO of 100 or thereabouts, you’re going to need a slower shutter speed to get the correct exposure. That’s where the tripod comes in. If you are hand holding at that ISO and f-stop, you’re going to have camera jiggle, and that’s just going to make your lens sharpness irrelevant. In fact, the sharper your lens and the bigger your file size, the more jiggle will be magnified. So, even if you are using a tripod, use mirror lockup and/or remote shutter release or timed shutter release. There’s no point of introducing your clumsy finger on the shutter button to add jiggle.
3. Focus on something, not everything.
Pick out the main subject of your landscape and compose your shot around that. It could be a building, a mountain, a road, or a rock in the foreground. What it is doesn’t matter as much as the fact that you have chosen something as the main subject. You might also want to remember the “Rule of Thirds” here and place your chosen focus point at one of the intersections of the imaginary lines you’ve drawn dividing your frame into thirds from top to bottom and side to side.
4. Think about the sky.
Is that what you’re really shooting, or is it the foreground? If there’s nothing special going on in the sky, leave it out or minimize it. Normal composition guidelines suggest you put the horizon one third from the top or bottom, but if the sky is not important, you can get rid of it. Conversely, if what you are shooting is a spectacular cloud formation, sunset, or whatever, a thin sliver of earth might be just what you’re looking for. But, you should choose one or the other. If you make the photo half sky and half ground, i.e. put the horizon in the middle of the frame, you’re going to get a middling picture every time.

5. The foreground is important for scale and for framing.
The reason you see so many photos of a mountain in the background framed by leaves of a nearby tree is that it just works. It draws attention to your main subject as well as gives scale to a distant object. Of course, it adds three dimensionality and perspective, which also serves to emphasize your focus. Also, a shot which features a foreground object and yet leads your eye off to the horizon puts that object into a context that makes it more emphatic.
6. Less than ideal weather is ideal.
There are two things that tend to kill the dramatic light that makes a great landscape shot: a cloudless sky with bright sun and complete overcast. I hate them both. Work with the clouds and be patient. Sometimes they are dramatic in themselves and provide a nice frame or even the main subject of your shot. Other times, they cast defining shadows, and when you’re patient, spout that one ray that hits your main topic and illuminates it beautifully while bathing the rest of your scene in a softer light. Like I said, be patient and wait for the light to do what you want. If it doesn’t happen, try changing angles or come back another day.
7. Utilize lines which emphasize perspective.

A road winding toward the horizon, a stream wending its way toward you, a roof line leading down a street. All of those give depth and movement which impart interest to your shot. And sometimes, those lines are also patterns which, in themselves, are the interest point of your shot.
8. Get up early or stay late.
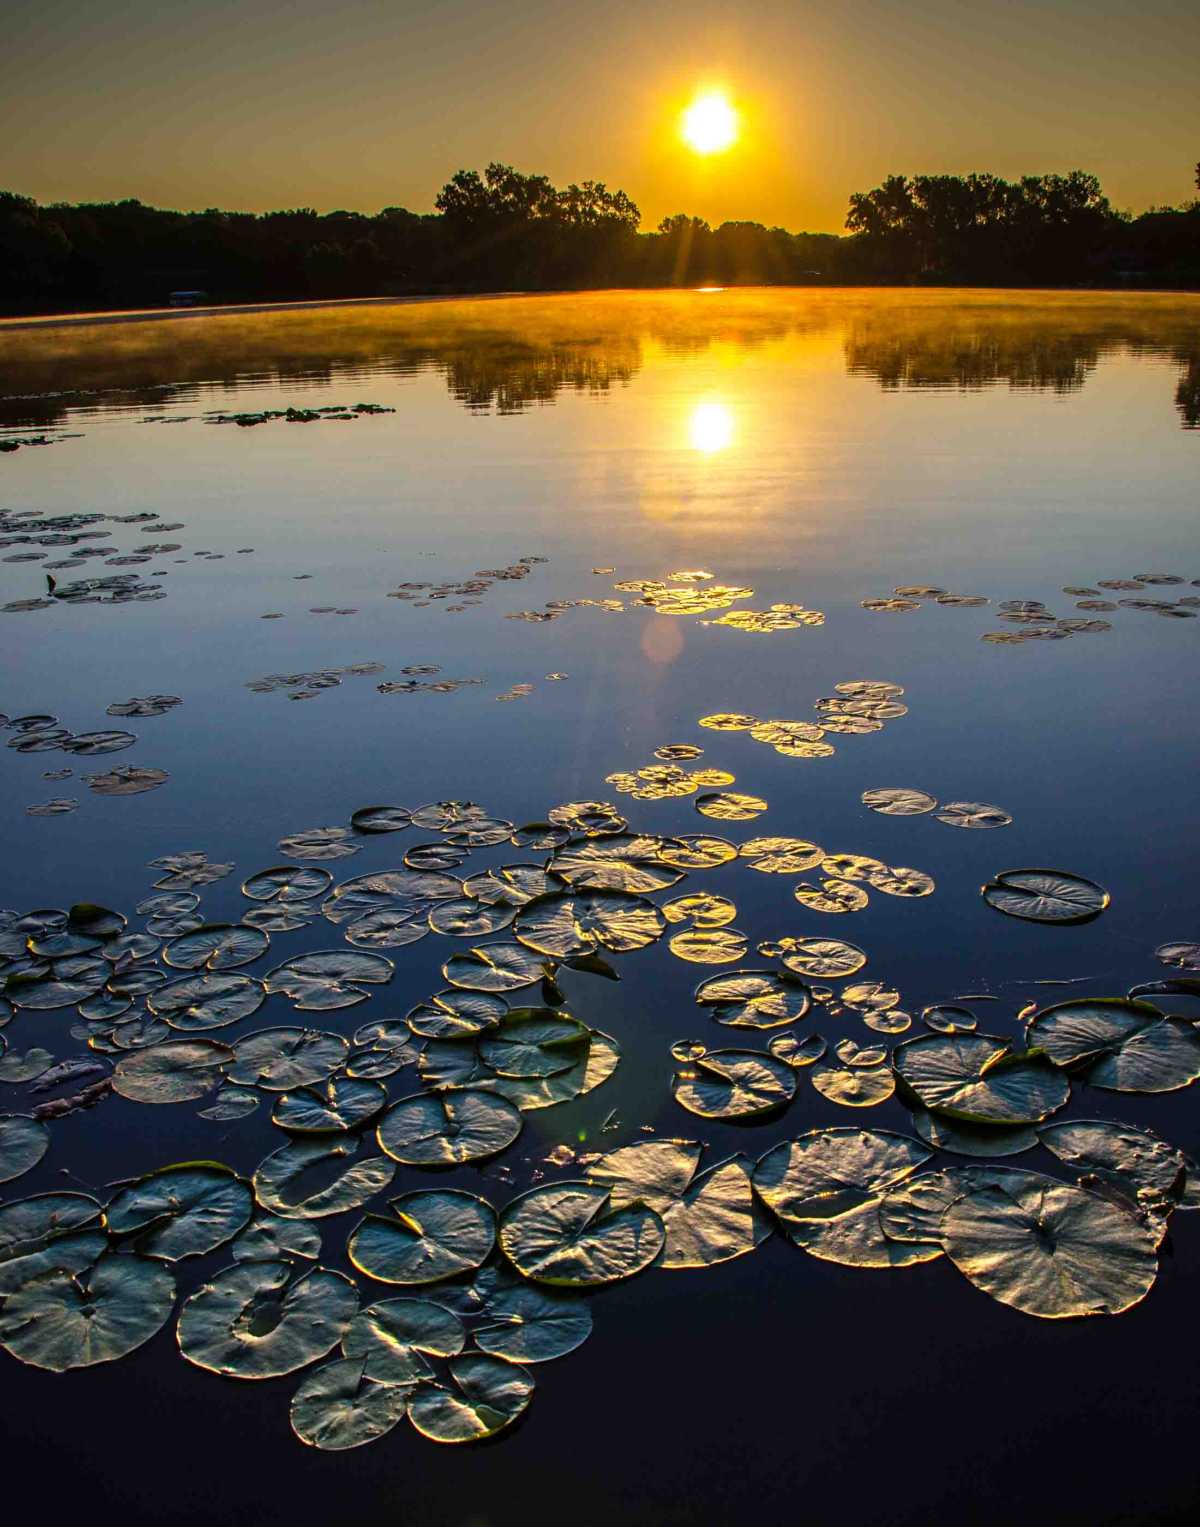
The color and angle of the light at sunrise and sunset imparts a quality to your image that you can’t otherwise get. Also, there are often dramatic shadows that add your your composition. Those times of day are not as bright as midday, of course, so to get your depth of field and shutter speed you want, you’re really going to need that tripod.
9. Watch the edges of your frame.
Often–and I’m guilty of this on occasion–two things go wrong at the edges of your frame. Problem one is some stray element like a phone wire, a leaf, or a tourist creeps in at the very edge. You’re so concentrated on your main subject, you don’t notice them until it’s time to look at the shot on your computer. Yeah, you can maybe clone or crop them out with Lightroom or Photo Shop, but it’s a lot easier to just make a slight adjustment and get rid of them in the beginning. Problem two is your horizon line. How many times have you looked at the shot on the computer only to realize the whole thing is tilted five degrees? There’s an easy fix for this: just align the horizon line with the top or bottom of your frame in the viewfinder while you’re composing the shot. Again, you can fix this in post processing, but why not just get it right to start with?
10. Take your time and take lots of exposures.
I can’t tell you how many times I’ve spent twenty or thirty minutes fussing over one shot, doing all the things I’ve mentioned above until I get it just right, and then packing up my gear, walking 10 meters down the road and seeing a composition of the same subject I like much better. It happens all the time. All I can say is, take as much time as it takes to get something you love, not something that’s just “good enough.” Sometimes, that’s holding the camera over your head, or even bringing along a ladder. Sometimes, it’s getting down on the ground, or even lower. (Ever heard the famous story of Orson Wells digging a four foot hole in a concrete studio floor just for one five second shot in Citizen Kane? I’ve wanted to do that on occasion.) Sometimes it’s an odd tilt; sometimes it’s getting closer or further away. Sometimes it’s including a stray element that’s right in front of you, but isn’t part of the main scene. Sometimes, it’s leaving and coming back, and sometimes it’s walking around the back and looking at things from a totally new angle. (One time, I drove into an entirely different state to get another look at the Grand Teton Mountains.) Like I said, there’s no hurry. Take your time.
11. Bonus tip: Come back to your favorite spots again and again.
I heard this one from a famous photo teacher: “The average number of times a great photographer will go back to a spot to get the best landscape photo possible is 25.” For non pros, that’s not usually an option. But keep it in mind when you happen to luck into that photo on the first try. Luck matters, too.
This post is part of our Travel Skills for Travelers Over 50 guide, which includes our best photography tips alongside packing, gear, and practical travel advice.
I forgot the most important tip: carry a camera at all times, even if it’s just your phone. Use it frequently.
Great tips, Tom! I have not really made an effort to learn about photography on this trip, but reading these tips has inspired me to raise my bar. Thanks!
Thanks, Lars. They evolved sort of naturally every time I went shooting, looked at the results and said to myself, “Well, I could have done that better.” It’s a learning process. The more you do, the easier it is.
Excellent advice! It’s obviously working. Love your photos!
Thanks, Corinne. I appreciate it.
Really found it useful reading your tips but can’t imagine my photos will ever turn out as good as the ones you posted. I will keep trying!
Thanks Fran. The best tip is keep shooting. We all get better when we do.
Thank you for effective tips! I’ll try to follow them.
Just remember, Veronica, they’re guidelines. Always look for the angle to make your photos your own. Have a good time.
Hi Tom – Re my last comment I have just returned from Sydney and tried out some of your tips and my photos are much improved – thanks for the guidance!
Great. Glad to hear it. I’d love to see them.
As travelers interested in photography, we may not know the difference from an Fstop versus a bus stop, but your hints are helpful either way. Slow down, frame your shot, select a focus, use a tripod. For the average person, these tips are already an improvement. Thanks for sharing thoughts and images!
You are welcome, Elf. This post is two years old. I’m going to have to do a new one one of these days.
Hi Tom! Would you consider including your final camera settings w/some of your photos, especially those that you’re using to demonstrate “tips and tricks”? I so appreciate all of the good info, and having those final specs w/the photos you include might help bring it all home for me. Thanks for considering it!
Julie, I’ve never been sure why things like shutter speed, ISO, and F stop settings are useful, unless there is something in the photo that depends on those settings to illustrate how it was done, e.g. blurred movement, depth of field concerns, or noise (grain.) But, if any of those effects are the intentional results of the settings that I used, I’ll try to remember to include them. Thanks for reading and for the suggestion.
This may be an older post, but they are all great tips that are still valid today (and great photos!). I would also add to use the rule of thirds. It’s something I didn’t use for years and I think it has made a difference in my photos. :)
It is an older post, and one I should go back and update. And yes, the rule of thirds. I use it every day.
Some good tips – thanks. I especially agree about using the light in the early morning and evening. I must say although I do use a tripod at home for certain things, I have to be doing a trip with a particular photography focus before I’d consider taking or using a tripod for most travels. It really changes the nature of your day out if you have a tripod for company. And a phone camera often does a brilliant job.
Yes, the phone cameras are getting better all the time. But, for landscapes, which I shoot a lot, you can’t really top the dedicated DSLR and a tripod. And yeah, hiking with it is a pain, but often worth it.